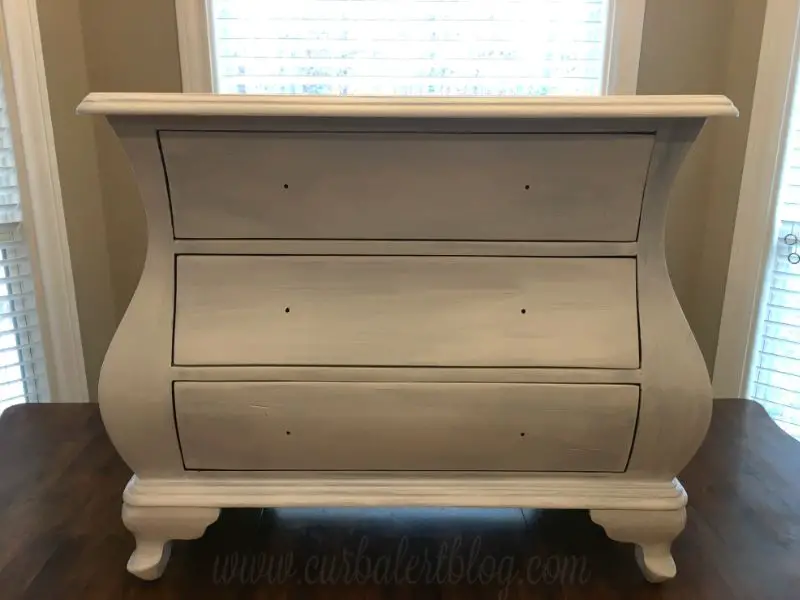
I have been very excited to share with you this Bombay dresser makeover! So much so that I am just heading this post with part of the final reveal first. Promise me that you will click over to see more glorious pictures of its shimmery finish. It’s an unexpected Beauty and the Beast!
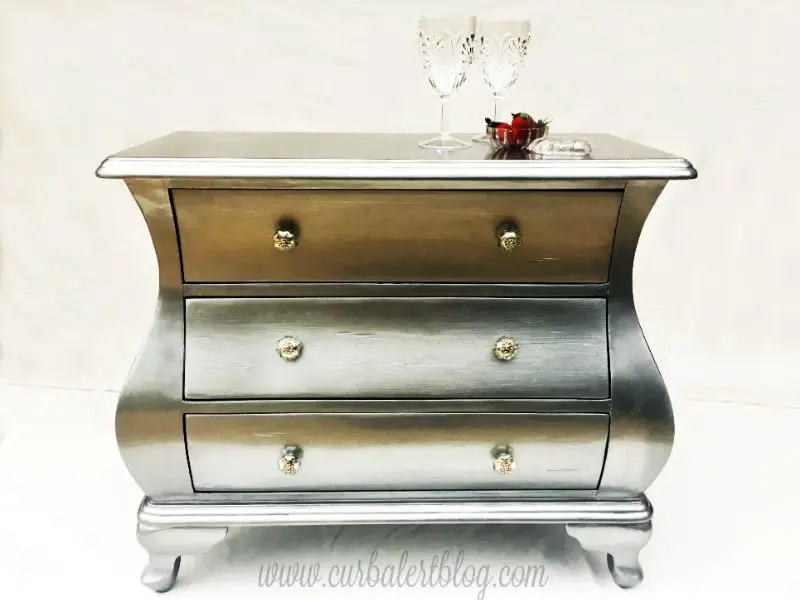
Dresser Makeover – How I Transformed And Ugly Beast Into A Shimmery Beauty
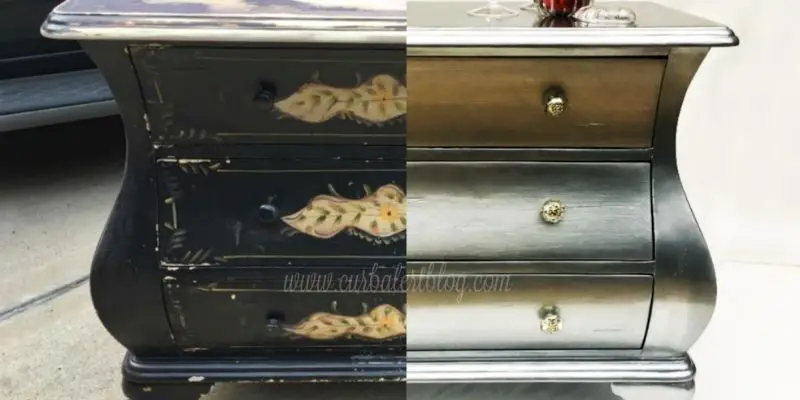
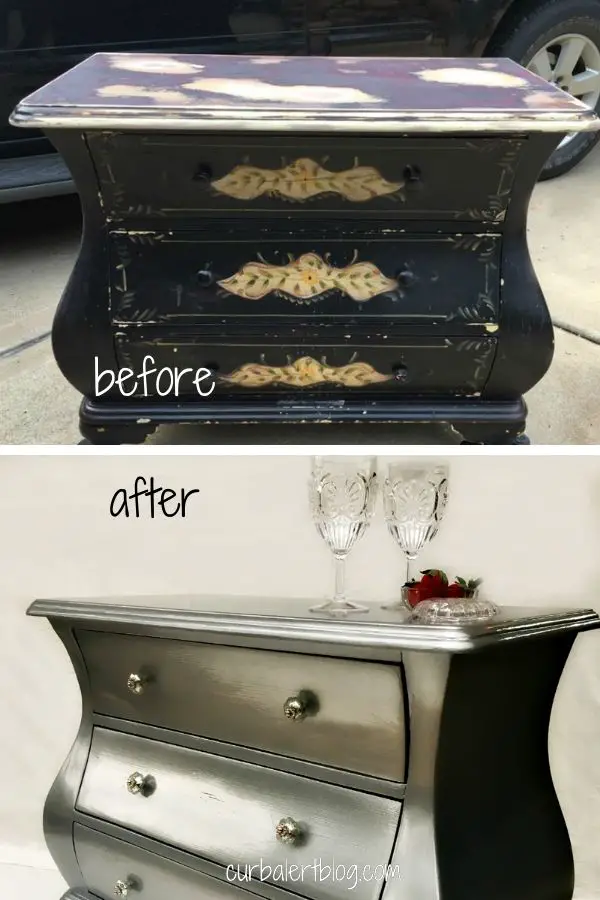
Exhibit A – the Beast!
You won’t believe what this little dresser looked like in its previous life! Lots of chippy painted goodness. I think I revealed quite a few layers of paint during the process. For that reason, I obtained it for an exceptional price!
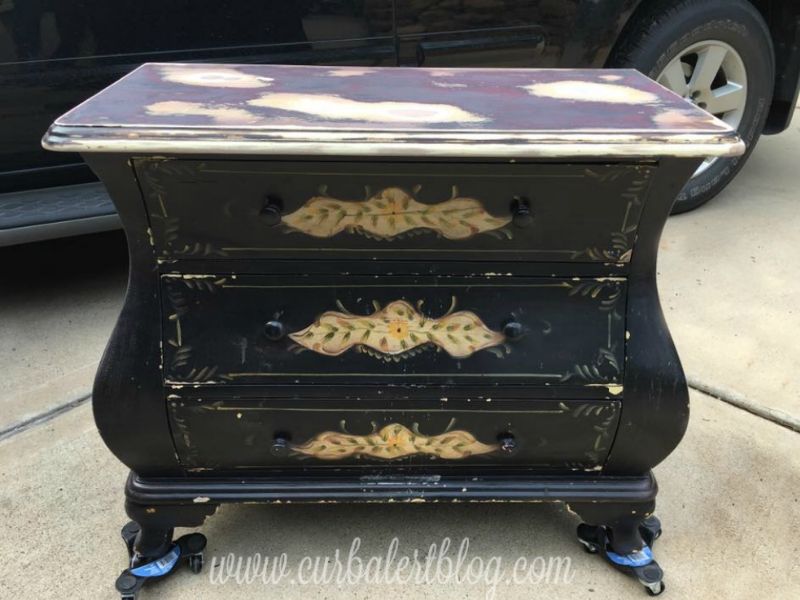
My friend saw it and envisioned it in shimmery silver so I tried super hard to deliver.
I am adding lots of details of the how-to process in hopes that it will encourage you to try it as well!
Sand it first
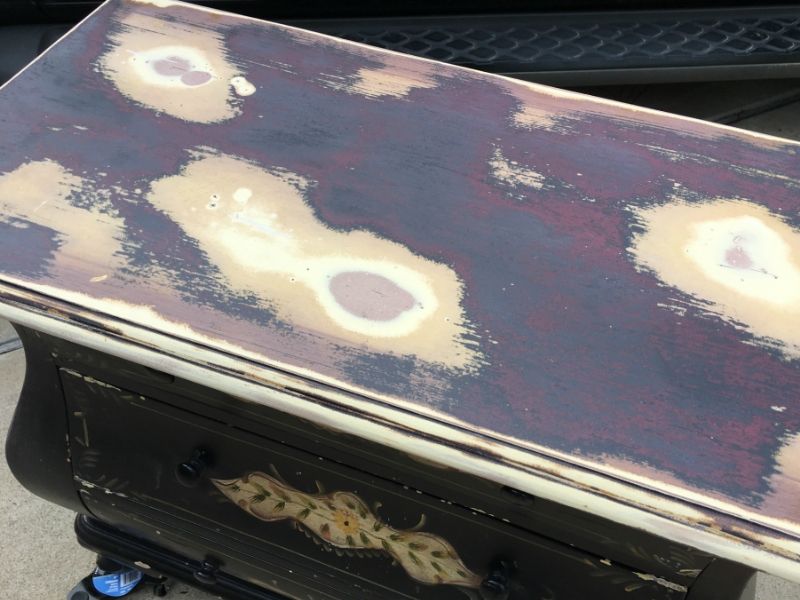
First, I sanded off the chippy paint parts but was careful not to ruin the engineered wood underneath which made it difficult to get a super smooth finish.
I have never worked on such a curved piece before, which gave me a few headaches along the way. I always start out with a low grit sandpaper such as 60 or 80 and then work my way up to 220 and 400 for a smooth finish. This part normally takes the longest but it so worth it, you won’t regret the time spent sanding.
Use a tack cloth to clean up hidden particles
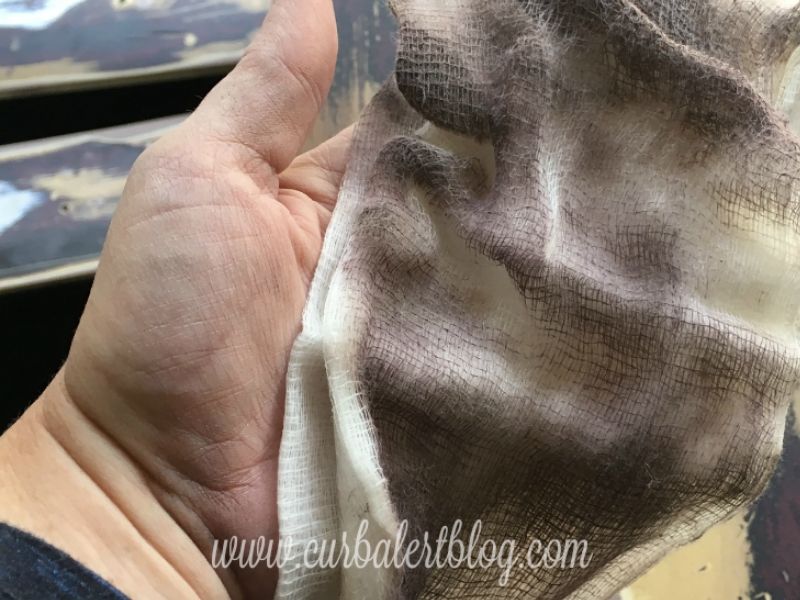
I wanted to share with you a product that I always keep on hand – a tack cloth. I always wipe off my piece of furniture before I sand it with a damp rag but of course, there are always hidden particles that are still on there.
Because I want the cleanest and smoothest finish possible it’s best to use a tack cloth. They are inexpensive and well worth the tiny investment. Look at what the tack cloth removed!
You can find tack cloths in tiny packages in your paint section of the hardware store or on Amazon. I’ve used many different brands and they all work about the same. Note to self — buy the 10 pack!
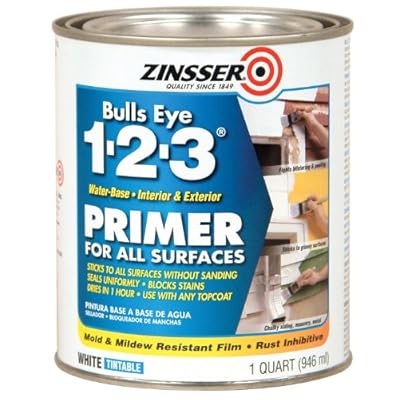
Paint two coats of Zinsser primer
I painted it with two coats of Zinsser Primer, allowing it to completely dry overnight between each coat. I also lightly sanded by hand between each coat with a 220 grit sandpaper.
Rust-Oleum 2004 Zinsser Bulls Eye 1-2-3 Primer, 1 Quart, 946 ml, White
Painting the dresser
After much research, I decided to go with DecoArt Elegant paint. I read up on their tutorials and thought it would be the perfect finish for this smaller piece.
It’s a dresser but really a cross between a dresser/nightstand.
Just like the primer process, I painted with two coats of DecoArt Metallic Paint in Shimmer Silver. The jar is small but a little goes a long way.
I used only one jar for this piece but got nervous there towards the end. Luckily, I purchased two jars just in case.
Again, I allowed it to dry overnight between two coats.
Add some shininess
I wanted to add just a touch of more shiny-ness (is that a word?). Anyway, I wanted just a bit more shimmer so I sprayed a super light coat of Rust-Oleum Metallic Finish Silver Spray Paint. It was the perfect addition!
And just so you don’t get discouraged, if your project has it’s ups and downs, here is part of my real life. (Don’t let blogger’s beautiful pictures fool you).
Just when I thought I was ready to put the top coat on this piece, my dear sweet kitties decided they wanted to love on it a bit…I will call the following my “Cat”astrophe reveal!
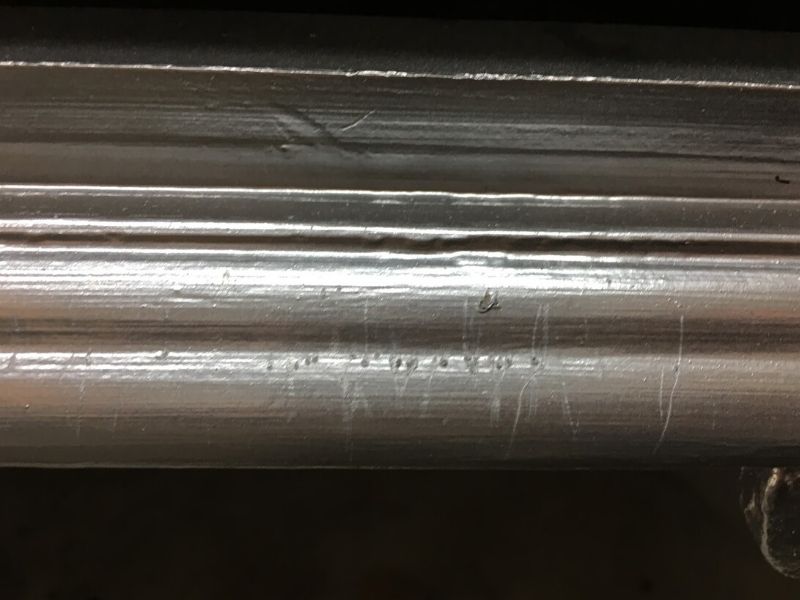
Yep, they decided to claw their way around it (mostly the very front of course) and leave their stamp of approval on it). I could have choked those little rugrats! Not really, well maybe!
Anyway, I had to back up, re-sand by hand and paint some more to get it back to beautiful!
Much better – brats!
Seal it up
Finally, since this piece will probably have a bit of wear on the top surface I decided to use Minwax Polycrylic sealer. I applied it with a fine paintbrush, specifically made for polyurethane to lessen the brush marks. I did same as the above, applied two coats allowing them to dry overnight in between each coat.
Add some bling
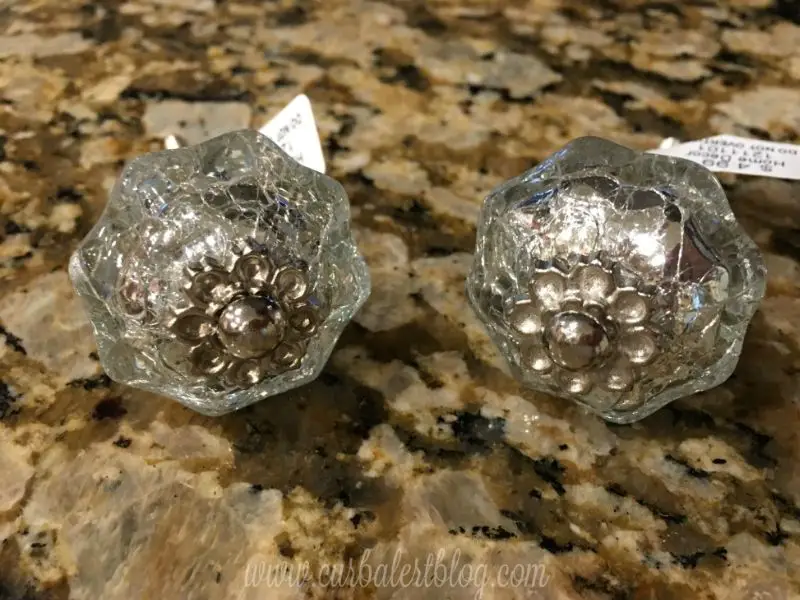
Of course, every piece needs bling, and these beautiful knobs added just that. I purchased them from Hobby Lobby (during their 1/2 off sale, of course)! I used very similar knobs on this Rustic Glam Cabinet Makeover in the past and knew they were perfect!
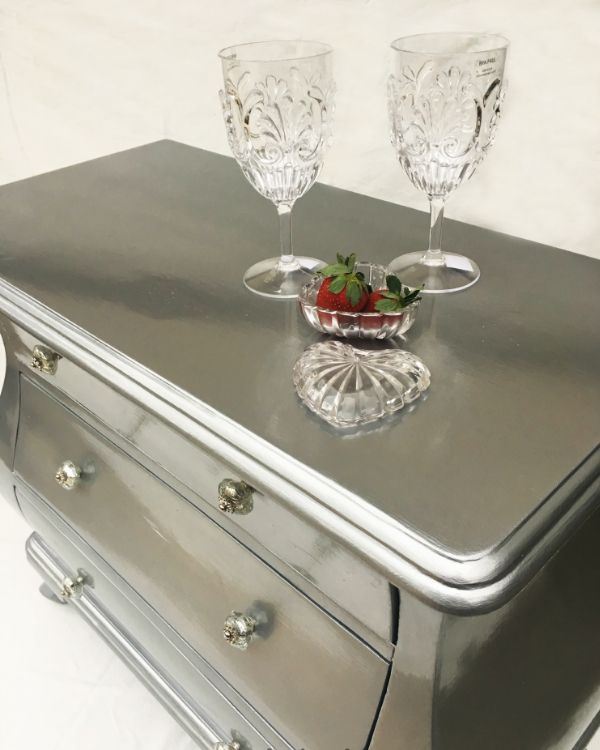
More pictures of the dresser makeover isn’t it gorgeous?
Whew! Now on to the fun part – more pretty pics of the big reveal!
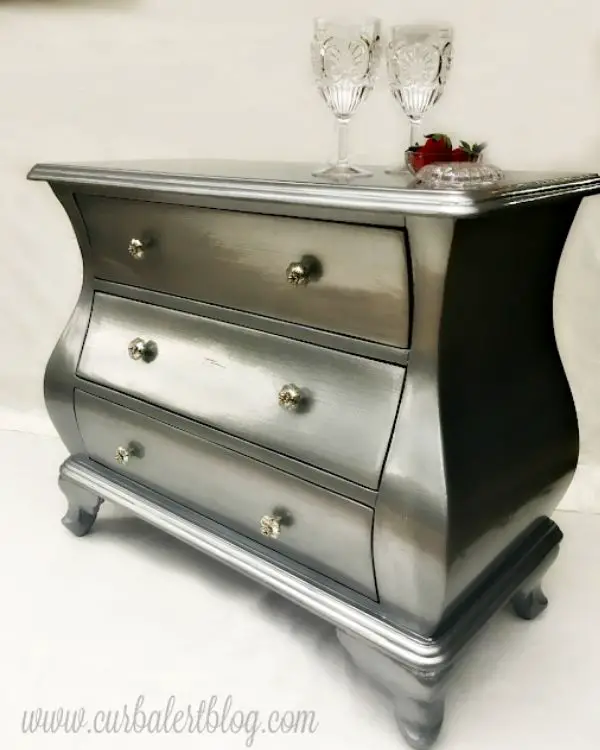
I worked hard on backdrop in the photos to make the piece stand out and shine, just as it was meant to do!
And because I love a good split Before and After photo…
I hope this post encourages you to try metallic paint. Again, it’s just paint and anything can be corrected (paw prints and all!).
Have you done a dresser makeover? I’d love to see it!
I so appreciate your support of my little curb alert blog!
1 thought on “Bombay Dresser Makeover – Painted Metallic Silver”