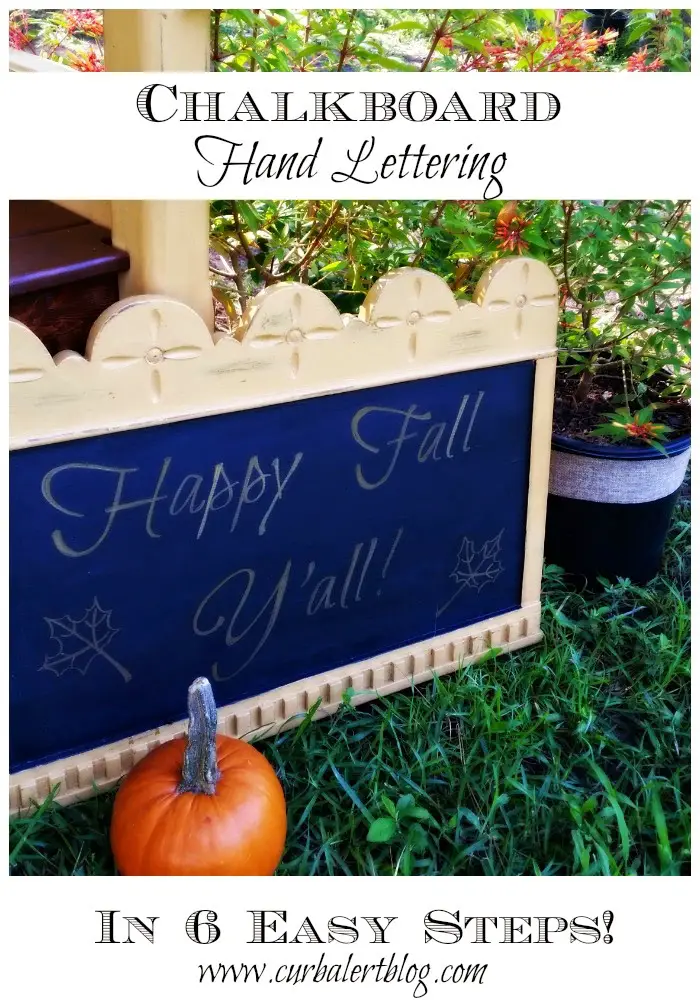
A few folks have asked how I wrote out the lettering for my Happy Fall Y’all Chalkboard.
It was freehanded – well sortof 🙂
It was easy and I will show you how I did it!
1.
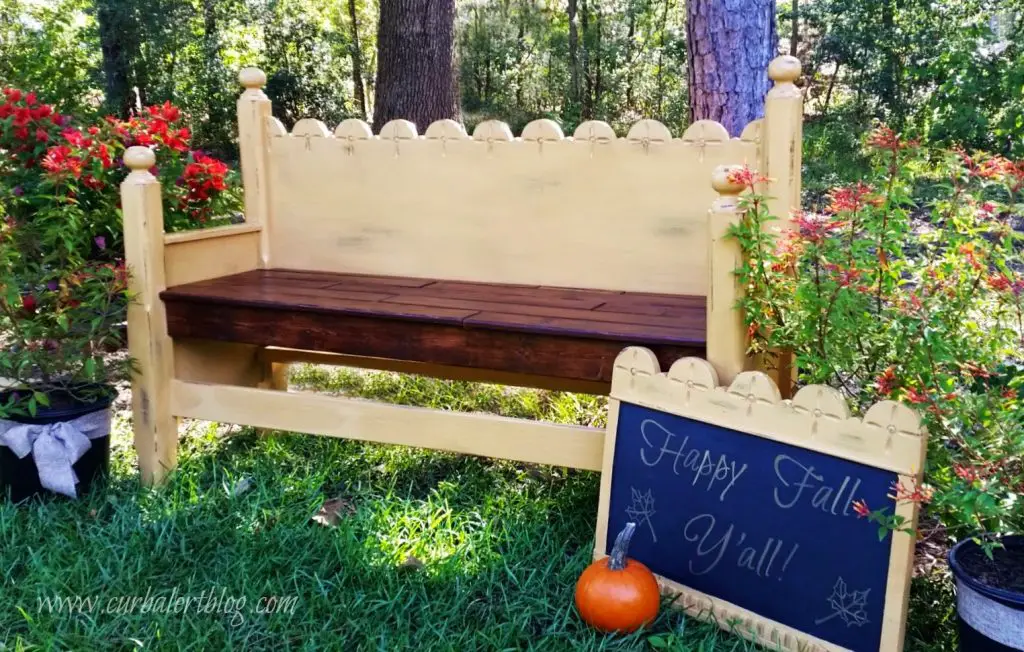
This is actually a section of the footboard that I cut out of my Butterscotch Bench. I hated to throw it away and decided to put it to good use.
2.
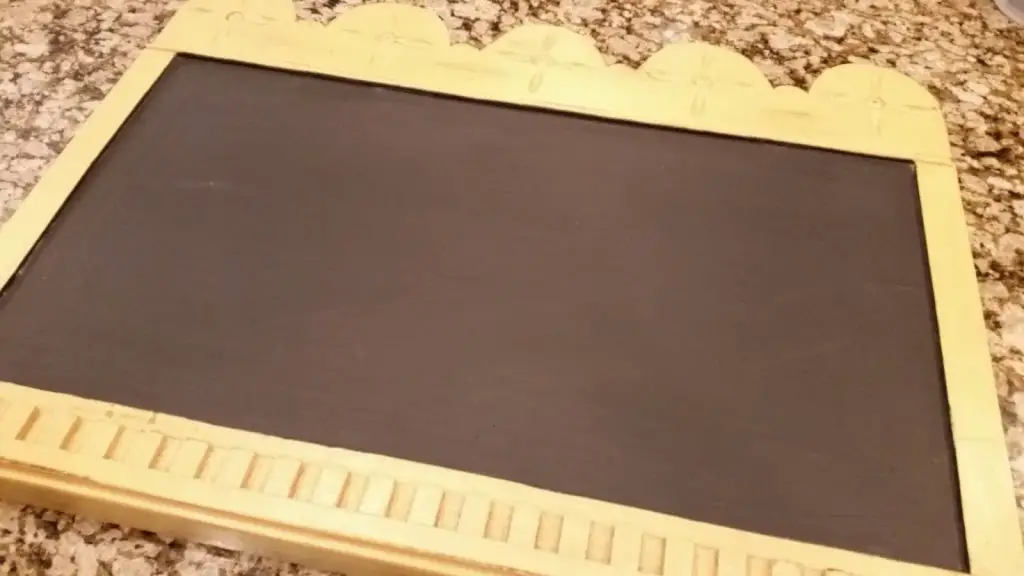
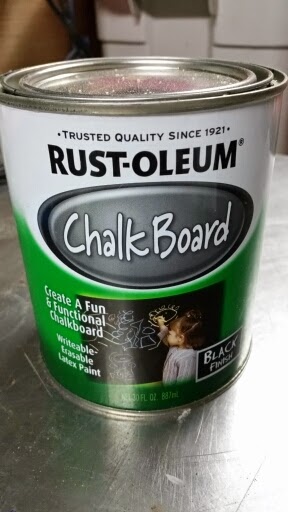
I painted the middle section of the board with Rustoleum brand Chalkboard Paint. You can purchase the paint at any hardware store or even at Walmart. I found mine at our town’s local mom and pop hardware store. I even found a smaller version at the craft store.
I painted two coats on the board and allowed for drying times as stated in the paint directions.
3.
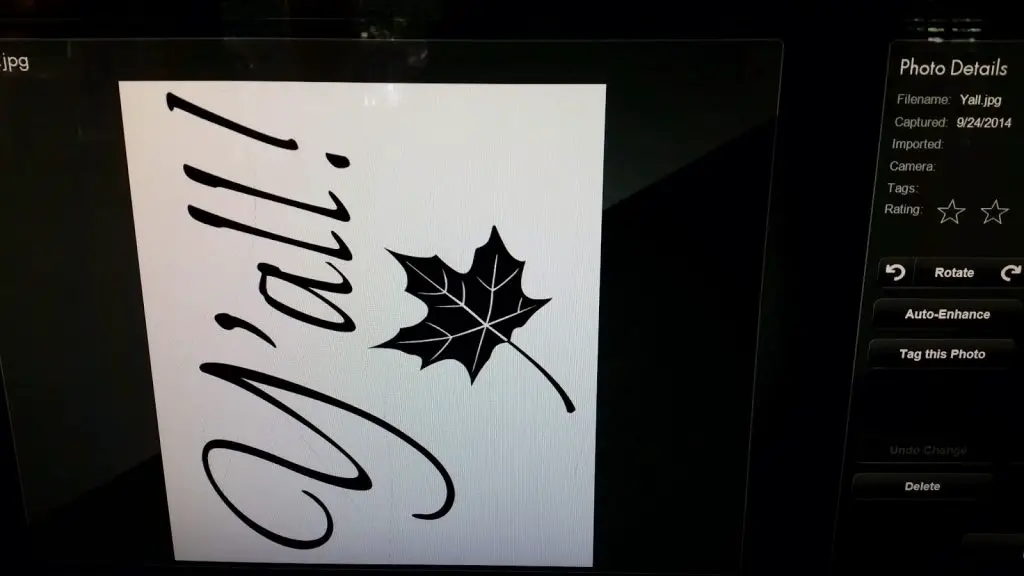
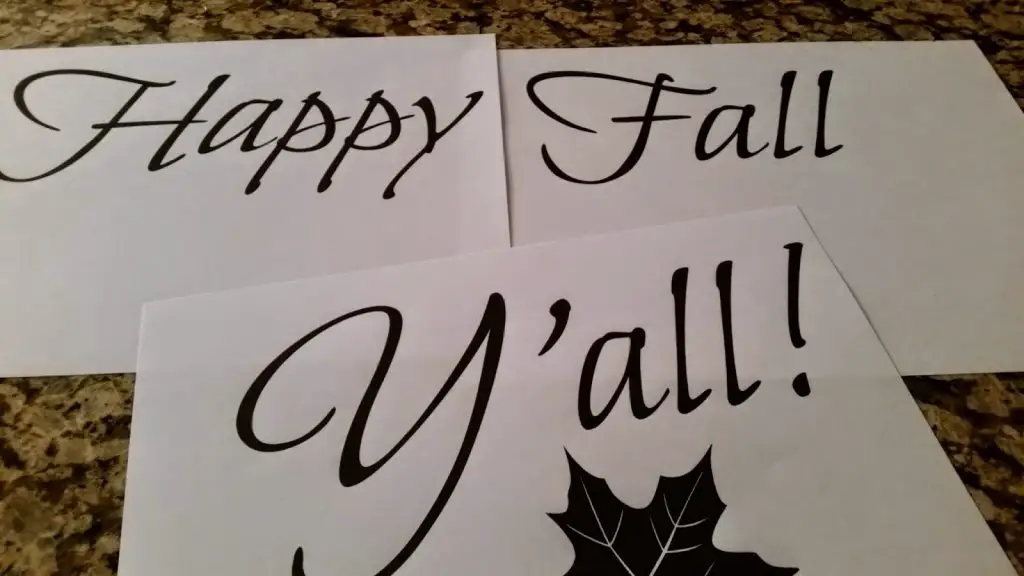
I prepared the lettering on a Word document and printed it in the size that I thought was appropriate for my board.
4.
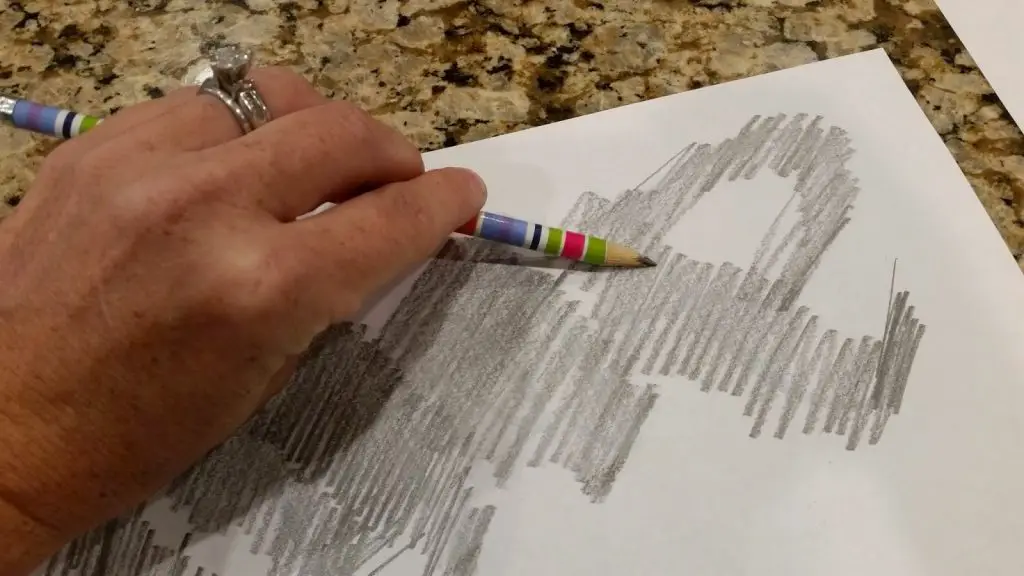
I shaded on the backside all of the lettering by using the side of my lead pencil.
It helps to have a cute pencil!
5.
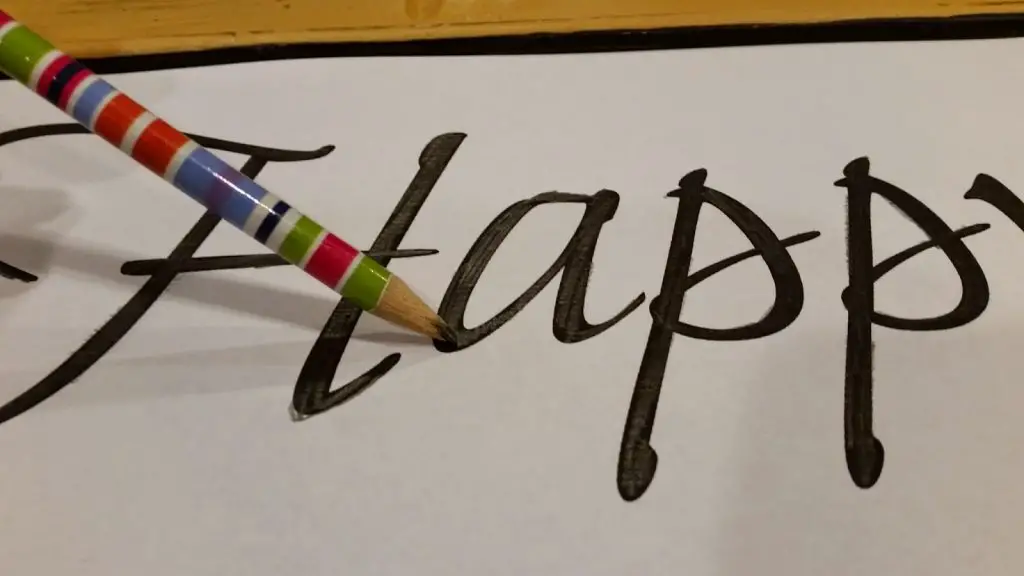
I then placed my papers with words/letters on the chalkboard exactly where I wanted them drawn. You can tape them down and line up with a ruler to help keep them straight – I did not in this case as I used the edges of the board as my guide. I then traced over the lettering being careful to stay in the lines.
6.
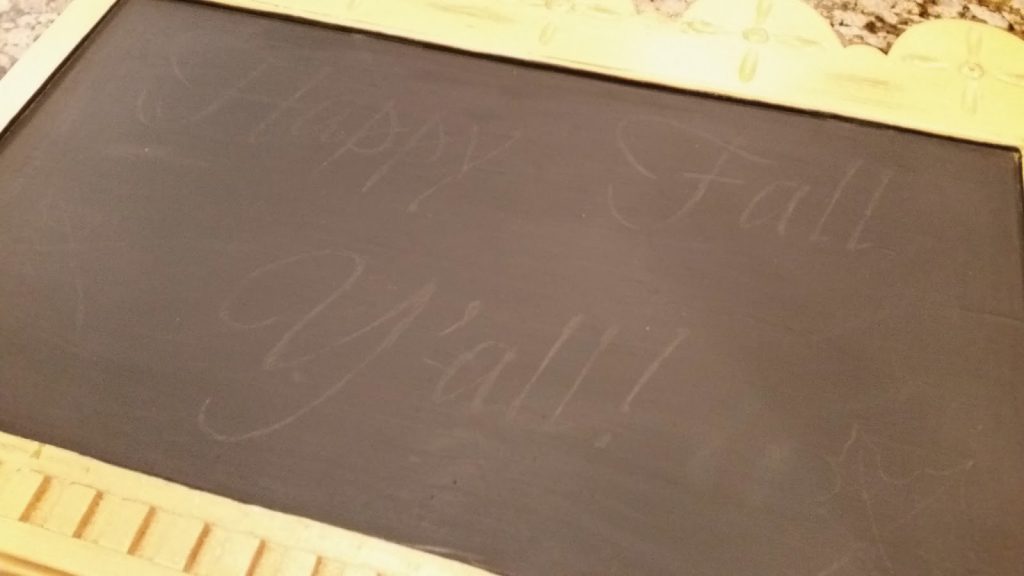
Lift up your paper and you should be able to see your perfect sketching.
Now just trace the outline with your favorite chalk.
I traced mine with a gold Sharpie so it will be permanent for awhile.
When I get tired of it I will just paint over it again with some more chalkboard paint!
That was so easy!
Now you should give it a try!
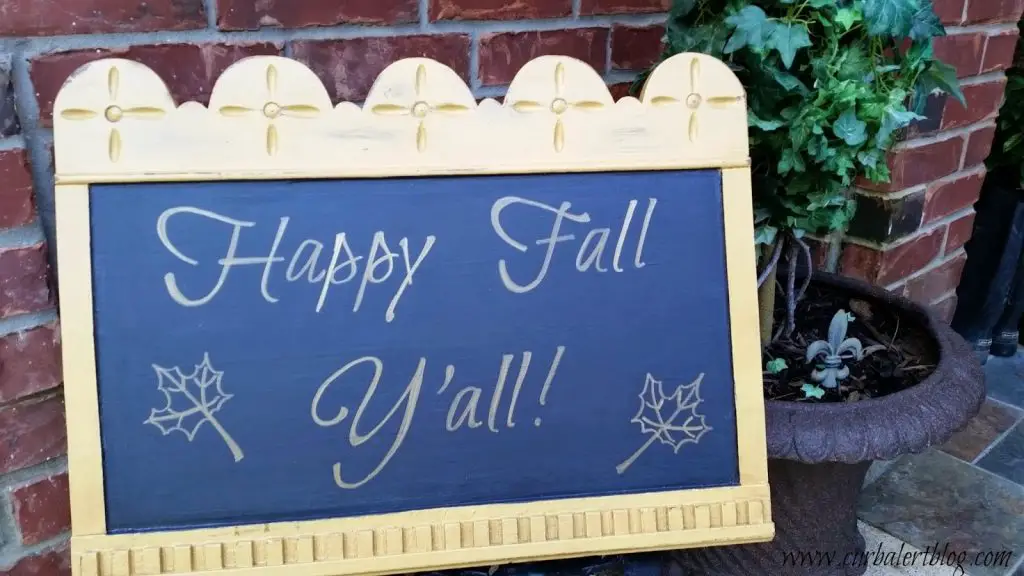
Happy Fall Y’all!
~Tami

Hi there! I needed this–thank you 🙂