Wow! I have taken a nerve wracking, non-technical, darn computer was BROKE week off of blogging. I DID miss my schedule of posting but the free time without the computers for ourselves (My Love, Me and the Kids) was priceless. Okay, I cheated a little and stalked your blogs by phone just to keep in touch with my blog world. You never realize how much time is spent on computers until we are without them! Well, please read on for my latest project!
You will be glad to hear that it has nothing to do with silly trophies, old-school tvs or duct tape!
(although I did have fun working on them!)
Warning: Picture Overload in this Post! Hey, I’ve not written in over a week so I have some time to make up for, right? You don’t mind, do you? Good!
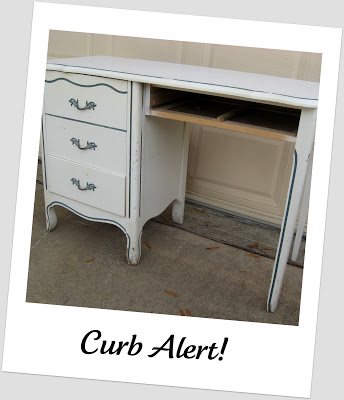
Now on to my fun hobby! Remember this desk I found a few weeks ago? My girlfriend from church called me one evening and said “you’ve gotta get over to the old house behind the post office and check out a cute desk on the side of the road!” Of course I jumped in the truck and was there in two minutes flat and grabbed it!
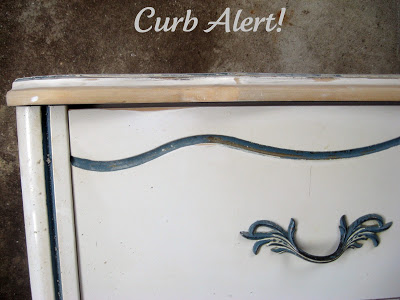
I loved the feminine lines of it and it is actually the same style as the bedroom furniture that I had growing up.
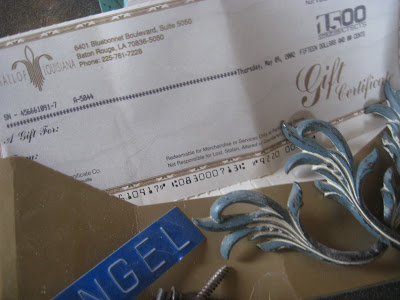
After a few weeks in the garage I finally dragged it out and started to get some ideas of what I would do with her. Based on a few items that I found in the drawers, I decided to name her “Angel”. There was even a gift check for $15.00 dated 2002! It can be honored for up to 5 years, man – if I would have found it earlier! who are we kidding it’s not the lottery! Better luck next time.
I really wanted to keep her and don’t have a place for another desk – we already have 3 in our home. I really intended to put it in LadyBug’s room and thought since she is so supportive of my crafty makeovers but she gave me the nix on that real quick – said it was ugly!
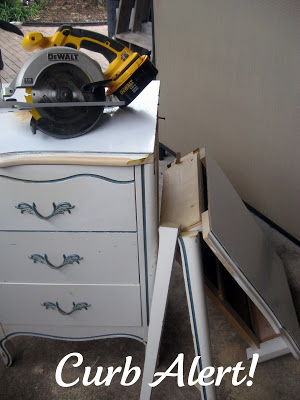
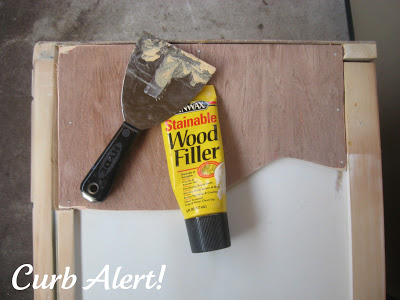
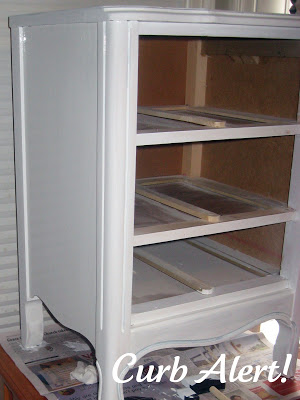
The top was damaged and it was missing the large drawer … a little more than my ability to fix. I decided to cut it in half, right down the middle, pretty easy since My Love has every tool that the orange store carries. It left a gaping hole on one side so had to come up with a quick solution to the best of my skills by cutting a board to fit, puddied it up and sanded the entire piece. Good enough for me – luckily I’m not too picky or I would have quit right then!
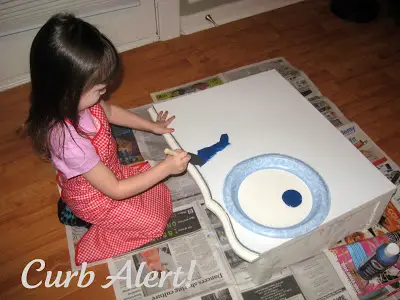
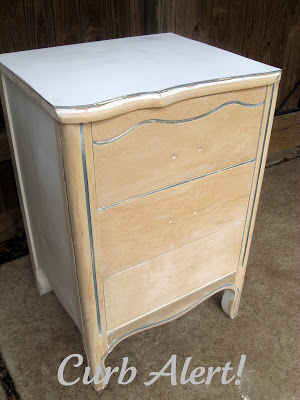
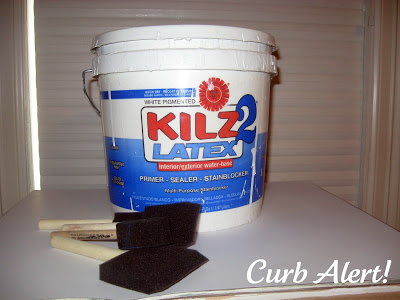
Now for some Kilz primer. I painted it all over, just chose this brand because it’s what I had on hand. I let it sit and cure for about a week before I did anything else to it.
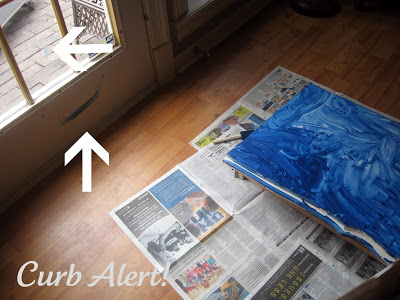
In the meantime I had to keep Buttercup busy so she would keep her little hands on her own project and not touch wet paint on Mommy’s.
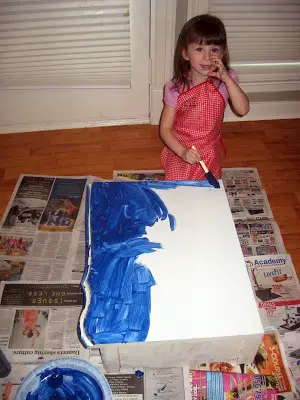
“Hey Mommy, look what happens when you look away for a split second!” (paint on the wall, paint on the door, paint on the floor!) Making memories, not messes here so I just cleaned it up and moved on.
One…Week…Later… DRY!
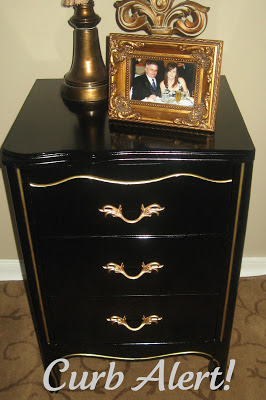
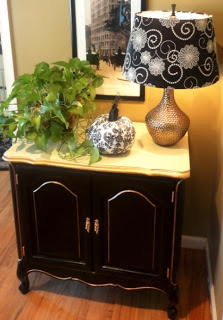
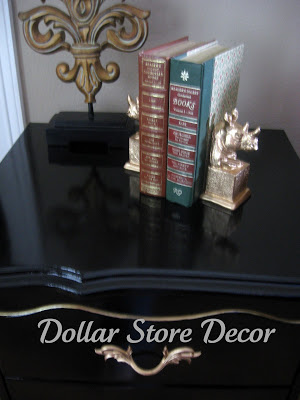
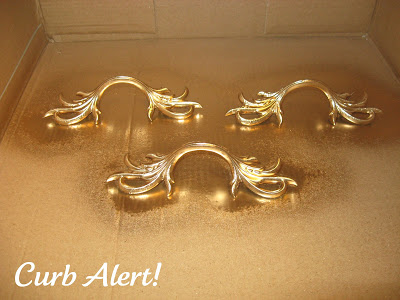
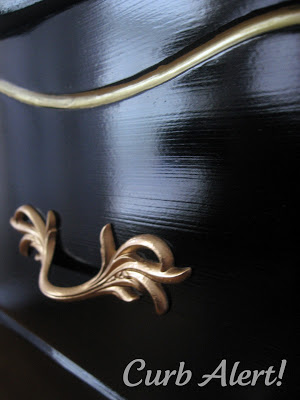
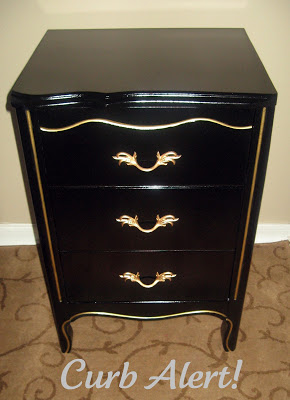
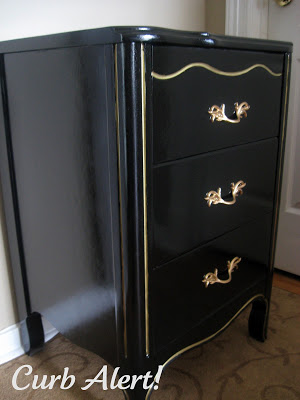
Now ready for the fun stuff! I first painted the hardware a shiny GOLD! I love how it turned out. And then spray painted the entire piece glossy black. It dried to a shiny coat, just what I had hoped for.
I spent a whopping $9 for 3 cans of spray paint for this project and everything else I had on hand! My kind of budget!
The black was too boring by itself so I embellished it a bit with my gold paint pen. Mr. Paint Pen was not cooperating too well so after many failed goopy attempts I had to blob it out in a bowl and paint it on by hand.
I love, Love, LOve, LOV, LOVE it!!!
Did I mention that I love it?
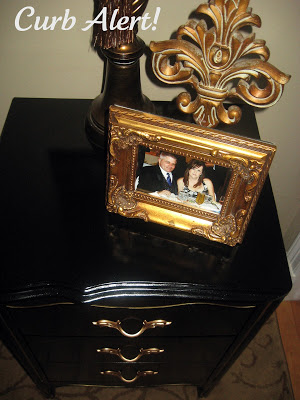
And check out shiny that top is!
Again, I love it…so much that I think I will keep her next to my bed in the bedroom. (If I can convince MyLove to let me replace the old college bachelor days Ethan Allen nightstand that I inherited from him when we married)
Finally, I would like to share my inspiration, this beautiful piece over at 21 Rosemary Lane. The moment I saw it, I knew I wanted to try it on my desk.
I was so happy to finally work on a furniture piece, there is just something about the transformation that I really enjoy….especially after cranking out a few silly posts like I mentioned before… DIY Trophy Wine Bottle Stoppers, Duct Tape Boots, or Kitty TV Bed.
Who would bother to post these things??? Oh, yeah – that would be ME!
And by the way, now LadyBug is begging me to let her put it in her room – sorry Sweetie! you snooze, you lose!
If you stick around, I will tell you about the Rhino Bookends later at Dollar Store Decor! I am recuperating from blogger withdrawals and am on a caffeine high so I may write more into the night!
So what do you think of “Angel”?
Happy Treasure Hunting!
~Tami
|


Gotta say, it would never occur to me I could turn a desk into an end table. I still don't think I could get one to look as chic as yours! ~ Maureen
Your table looks absolutely amazing! I found an old road side table and turned it into a night stand! Can't believe what people throw away, if they only knew!
Blessings,
Janet
Tami, you did a fabulous job on this table! I love the way the shiny black looks with the gold. Beautiful!
You are really good!
I love this table! I always see furniture with missing drawers and never know what to do with them – this is a great idea!
That is seriously an amazing transformation! I would have never tried cutting the desk drawer off. Bloggers are the smartest people on earth (or maybe just the most creative!). Great work! 🙂
Genius idea! It looks 1000% classier now!
I LOVE the black and gold!!! I never would have thought of cutting the piece in half, so smart!
I was on vacation for a week and wasn't online for awhile either. It was kind of nice!
Tami, you're so awesome, I had to feature you tonight. 🙂 Feel free to grab a button. And hope to see ya tonight!!
Tami…that came out gorgeous!!! I was thinking as I first started reading your post "How did i inspire this project?" Then I saw you cut the piece down and your daughter's blue paint and I was still not convinced. But when I saw the finished project the only word that could have possibly run through my mind was "AWESOME" Thank you so much for the shout out…I truly appreciate it and am very flattered! I love your blog and your writing style is extremely entertaining!!
Enjoy your stunning new piece of furniture and have a great day!!
P.S….I bought the wood frame at Michael's! Can you believe it? Their stuff has been getting better lately!!! (Well at least the one near ma has!)
love it, actually have the same kind of project sitting in the garage my self