Want a simple project that will boost your home’s Curb Appeal?
Try refinishing your front door!

Let me refresh your memory from my post last week.
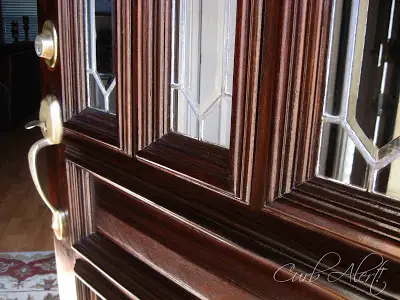
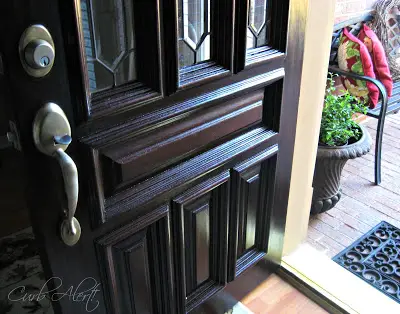
Here is what our front door looked like before…sun faded, dusty, boring, dried out, old looking!
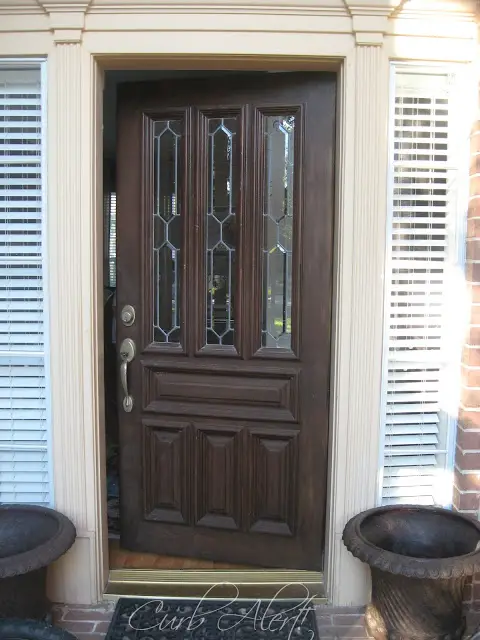
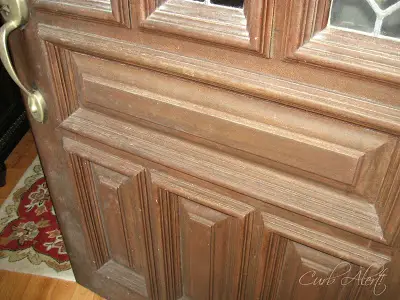
And it was shamefully worse up close – dreadful and not much of a first impression. I would go out there now and then and clean it up with furniture polish but that was only a lazy, temporary few day fix.
This is more of a true picture to the color and dirt!
I decided to share with you a simple tutorial on how to refinish the front door or any exterior door for that matter. I’m no expert but I can share with you how it works for me.
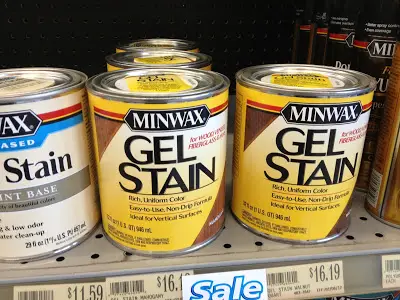
I restained it a few years ago and used Minwax Gelstain. I applied it right on the door while the door was hanging, I didn’t even take it off of the hinges. If you are tight on time I highly recommend using it and it will turn out well even without much prep or sanding. I was pleased with the process and by using the gel it eliminated the pesky spill and drip marks as it glides on with ease.
Again, that’s if you don’t have much time and just want a quick fix.
This time I decided to get serious and felt the need to sand off the 20 or so years worth of stain off of the door. I used our electric sander, lots of hand sanding and about a weekend worth of elbow grease.
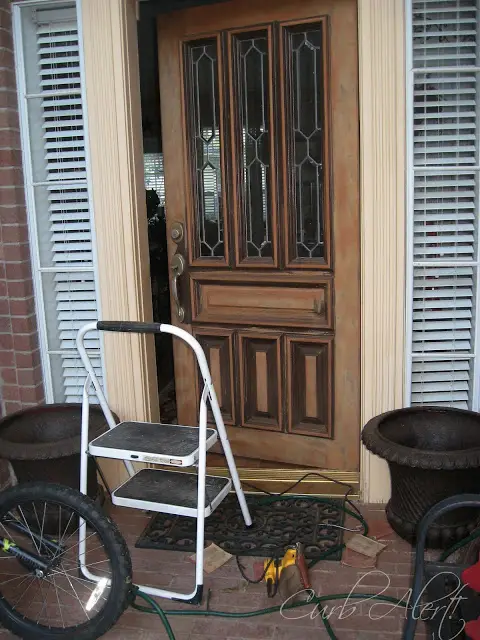
Why I enjoyed doing this? I don’t know. I think for me it’s good therapy while my mind wanders as I sand away the old memories that have walked through this door and get excited about what is anew.
My favorite products to use for this project are the Minwax stains and poly. I don’t get paid or endorsed to write about them here (although I would not mind if I were asked to) but I just really like the products and results.
I basically followed the instructions on the can:
Sand with a course sandpaper (around 60-80 grit) and then follow up with a finer (220 or so) for a smoother finish.

I prep and clean the door surface for staining by wiping over it with a damp rag and paint thinner. I cannot express how important it is to start with a smooth clean surface, it will really ensure more positive results.
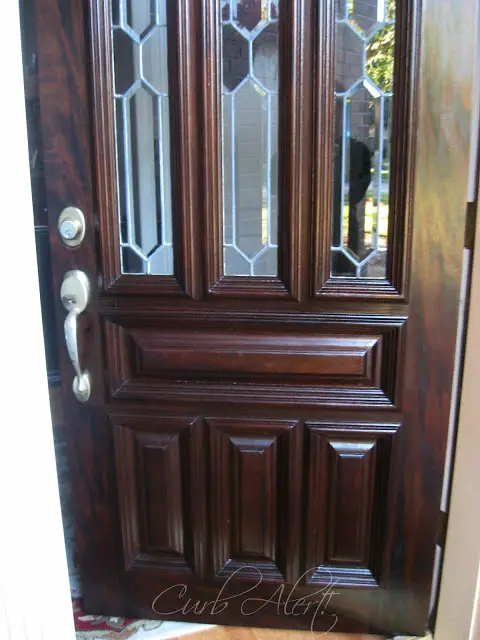
I used Minwax Dark Walnut stain and wiped it on the door surface with an old washrag. After letting the stain sit for about 15 minutes I rubbed it off with my Rags in a Box. I love these rags that MyLove purchased for me as they are super soft and do not leave a lot of residue. I was pleased with the color after just one application but you can repeat the staining process if you like a deeper richer color.
I let the stain dry overnight just so it has time to cure properly. On a sidenote, I know it’s the middle of winter but here in Texas our temps are much milder. I normally would not apply the final coat of Poly in January but in this case we had some beautiful warm sunny days so I felt that we would have adequate drying temperatures. You may want to save this project for the spring if you live in a more frigid zone.
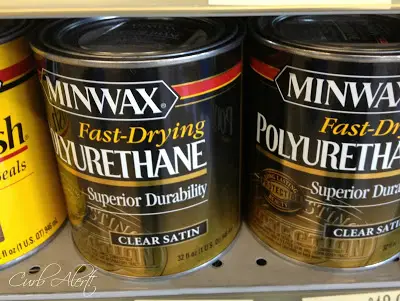
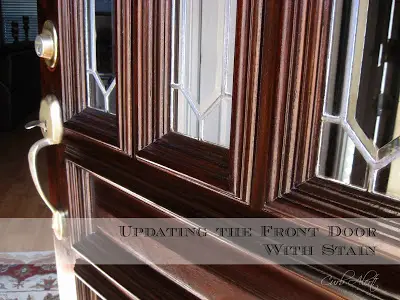
I applied a thin coat of Polyurethane to the door and let it dry overnight. I used the Fast-Drying Poly that boasts drying time for up to 4 hours but still waited overnight to be safe. I applied one more coat of Poly and could not be more pleased.
What a huge improvement – I love the deep walnut color!
Our pretty kitty, Diamond even had to check it out!
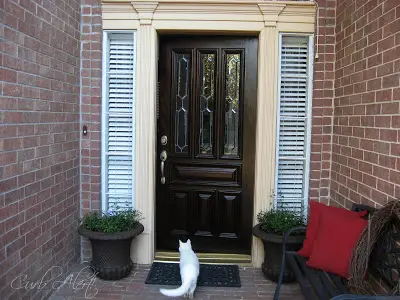
Now we are ready to welcome Spring and our future guests with pride.
Looks like a custom front door at a fraction of the price.
What a difference it makes to our home’s entrance and Curb Appeal!
On a final note, they charge $300 and upwards to stain and refinish doors in our area.
My cost … $12.99!
Score!
Do me a favor and PIN this on your Pinterest board on your Spring “to do” or “honey do” list!
I hope this inspires you to tackle updating your front door too!
Thanks for visiting!


P.S. Check back later this afternoon for the Curb Alert! Friday Block Party and link up what you have been working on this week! The link will stay open until midnight on Sunday.
Stay connected with Curb Alert!


Sharing this post over at:


I am so IMPRESSED. When our front doors needed an update (they were painted) I couldn't bring myself to the sanding, so I repainted them – but it was still an amazing difference. At the moment they need washed down because for some reason my front doors get incredibly DIRTY. Does that happen to everyone's front doors? Here's the post if you want to check it out http://lifebeginsatfortysomething.blogspot.com/2012/02/quickie-for-your-wednesday.html
Tami…I love your door and the choice of colors! Beautiful!!!
I'm having a TWITTER Social hop. I'd love for you to hop on over, grab a button and link up your Twitter. If you don't have Twitter it's ok, come link up your blog or favorite post.
http://mydailyphotojourney.blogspot.com/2013/01/twitter-social-hop.html
I'm also looking for Pinterest Pinners to feature every week. If you are on Pinterest and are interested in being featured come link up! Who knows you might meet some other great pinners and gain a few great ideas.
http://mydailyphotojourney.blogspot.com/2012/12/looking-for-pinners.html
Wow. Now that is a transformation. Great post.
Yep I knew it would turn out beautifully and it did!! Love that color and you can't beat that price either!!
what a big difference and low priced to do, its gorgeous!!!
Paula
Loks beautiful Tami! I did this two years ago and think it is about time to do it again.
I was just at your house .. GIRL you have been busy.. LOVE it and the color .. Great job… YOUR a ball of talent .. I have decided !!! : )
Love, love you front door, Tami! Where were you when we did ours last year? LOL We had such a hard time with it. I am glad the process was easier for you and I think next time we have to do this, the door with stay in place, like I told my husband to do. 🙂 Your entrance looks gorgeous!
What a difference…looks like a brand new door! Thanks for sharing!
Amy
Good thing I’ve read this! I’m actually working on ours and thinking of removing the hinges later, so I can do the sanding. By how your door turned out, I’m sure it wouldn’t be realistic to do it while the door’s hanging. Just practical! 😀 –>Willene
I like your positive point of view about home projects like this. Some people consider it a household chore to do a quick fix at home, but for you it’s good therapy. Thank you for this DIY tip. It would absolutely help homeowners to beautify their home. Anyway, have you ever thought of painting your front door with a different color? How about teal? That’s a refreshing color that would make your entryway inviting!
–Francisco Close
Did you paint it yourself? Looks like it's professionally done! Beauty is in the eye of the beholder but, when it is filled with dirt and dust, then you have to do something about it. Your DIY tip would really help a lot of people wondering how to refinish their doors, this would be their go-to site. Repainting really makes a lot of difference!
Sandra Ludwig
Looks beautiful
Can this been done in 90 degree heat? Did you take the door down off the hinges or leave hung? Did you close the door during drying wait time (like overnight)?