Want to know how to easily copy the look of high-end pillows without paying the high-end retail price?
Okay, I know I already gave it away in my post title.
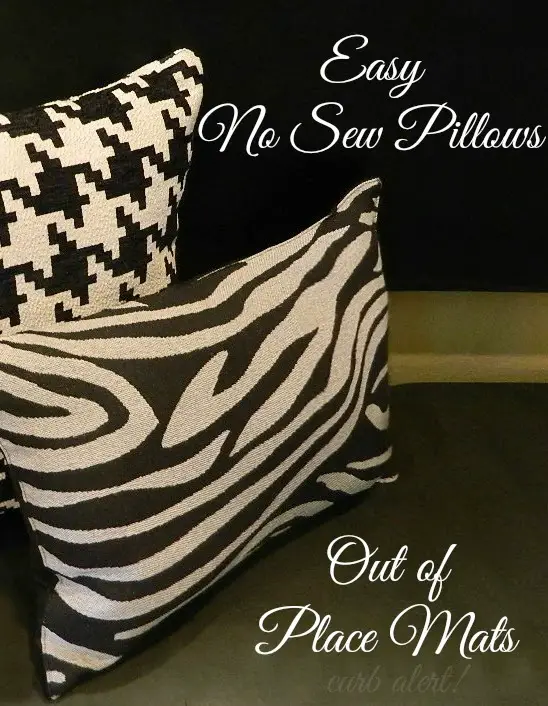
How to Make Easy No Sew Pillows
{out of Placemats!}
This is another easy project that I keep chanting during the entire process, “Why haven’t I done this sooner”?Read about this easy project now or you are welcome to Pin it for later:
I have been eyeballing these
Pottery Barn pillows for quite some time now. First off, I LOVE pillows, don’t you? You can’t have too many pillows, I tell ya! I won’t admit how many pillows I actually have though, let’s just say A LOT!
Back to the inspiration: I love the zebra pattern but
1. the pattern is a bit out of my comfort zone and
2. I could not stomach the original $49.99 price tag
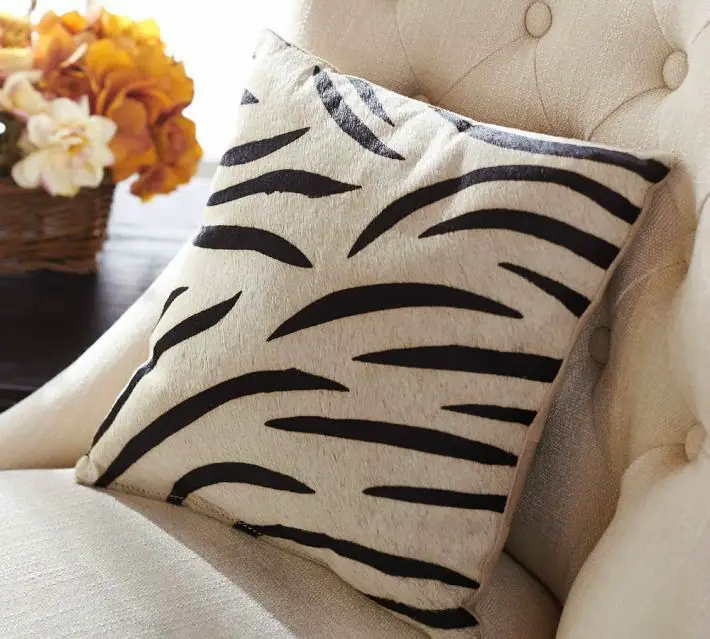
Zebra Printed Hide Pillow
I am a Pottery Barn Wannabe!
You may recall that I have referred to myself as such on numerous occasions.
~Pottery Barn Wannabe Dresser Makeover~
~Pottery Barn Wannabe Copycat Challenge~
~Pottery Barn Wannabe Faux Faux Coral~
~Pottery Barn Wannabe Fall Front Porch~
Okay, maybe a bit more than a few times…you get the point!
You may recall that I have referred to myself as such on numerous occasions.
~Pottery Barn Wannabe Dresser Makeover~
~Pottery Barn Wannabe Copycat Challenge~
~Pottery Barn Wannabe Faux Faux Coral~
~Pottery Barn Wannabe Fall Front Porch~
Okay, maybe a bit more than a few times…you get the point!
Good thing I wasn’t too dead set on them because they are now discontinued-boo.
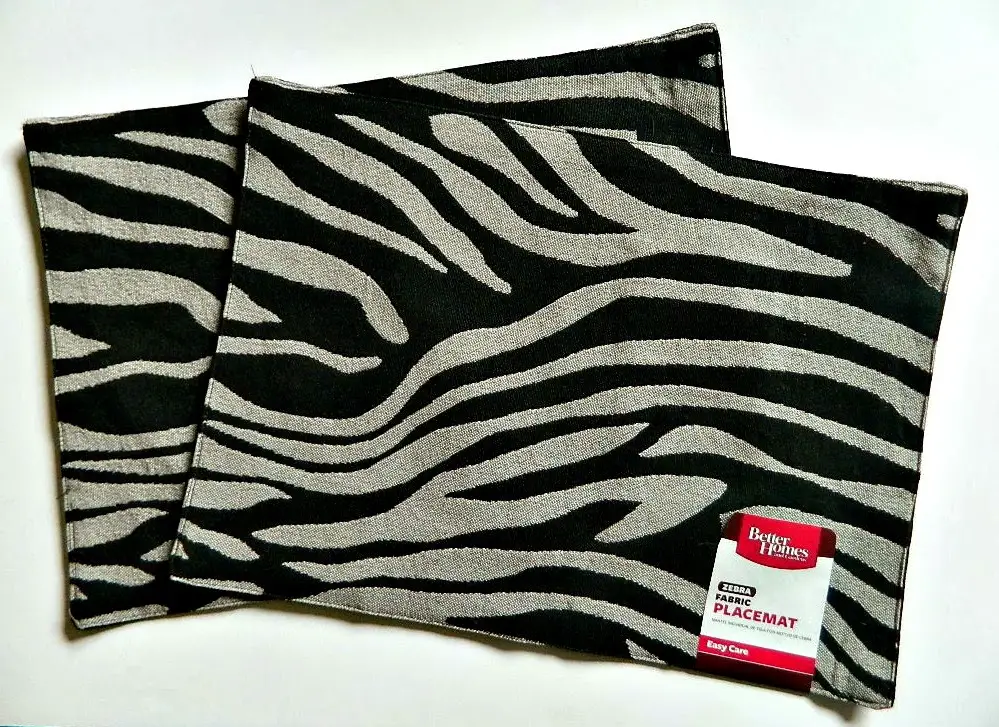
Lucky for me I found a simpler solution as I browsed through my local Walmart store and saw these place mats.
The price was excellent at $3.99 each. I purchased the only two that they had. Thank goodness they didn’t have more in stock or I would have probably purchased them as well. because I tend to be a hoarder like that!
Well you have made it this far in the post so do you want to see how I did it?
Of course you do!
Of course you do!
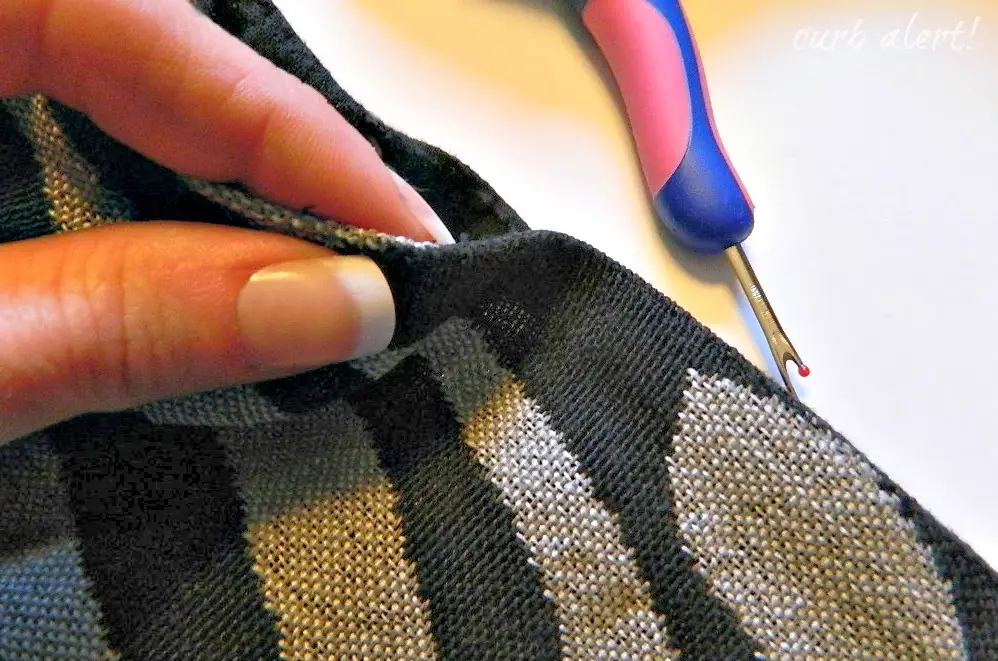
I grabbed my seam ripper and ripped out about a 4 inch section of the bottom.
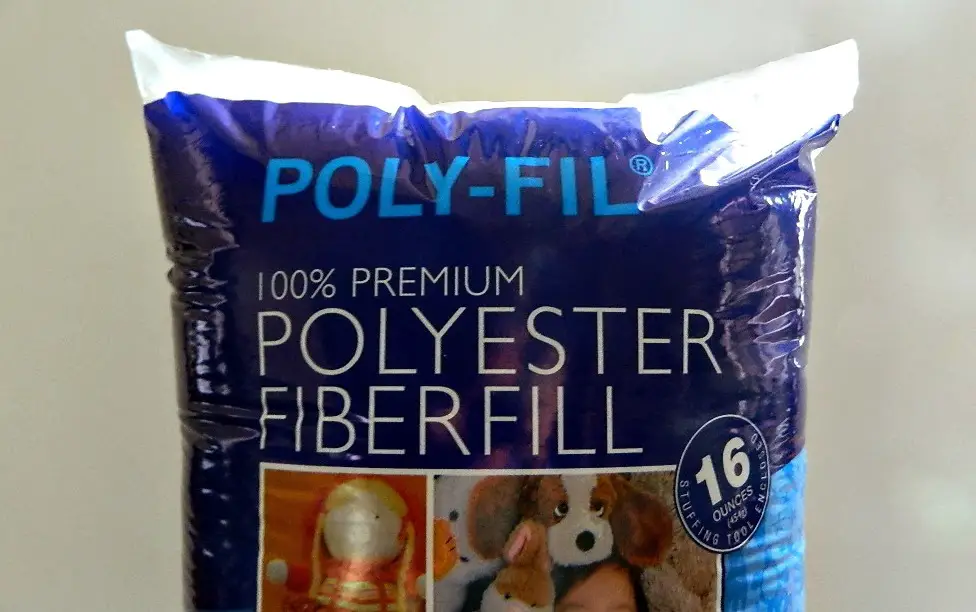
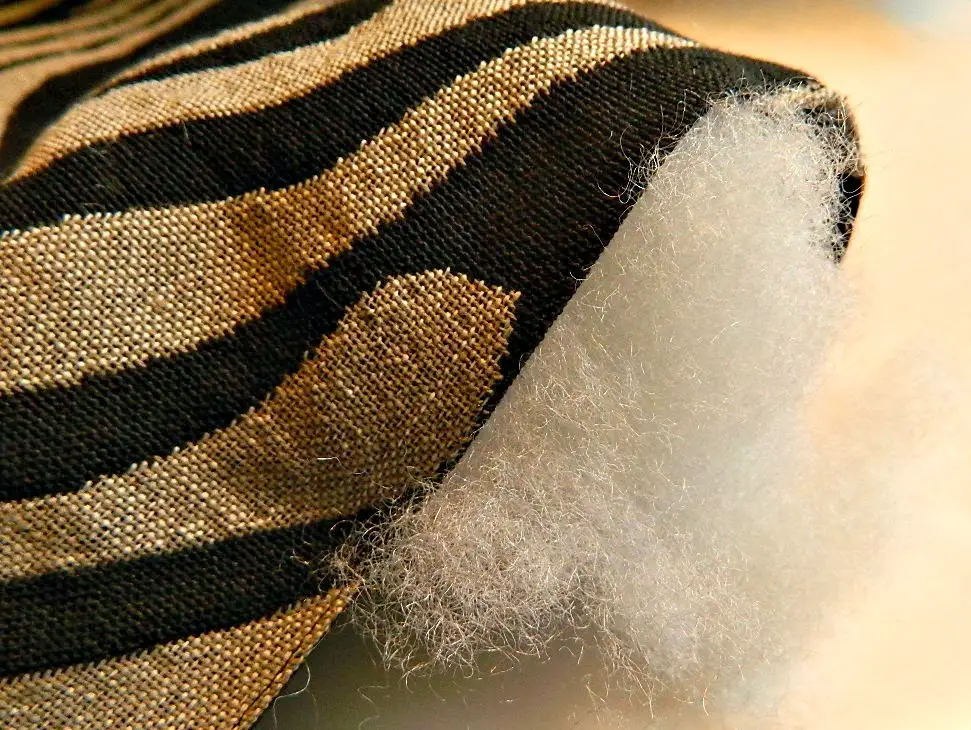
I used about half of a bag of Poly-Fil (again from Walmart) and stuffed it in the hole. Make sure you stuff all of the corners first and then work your way through the form.
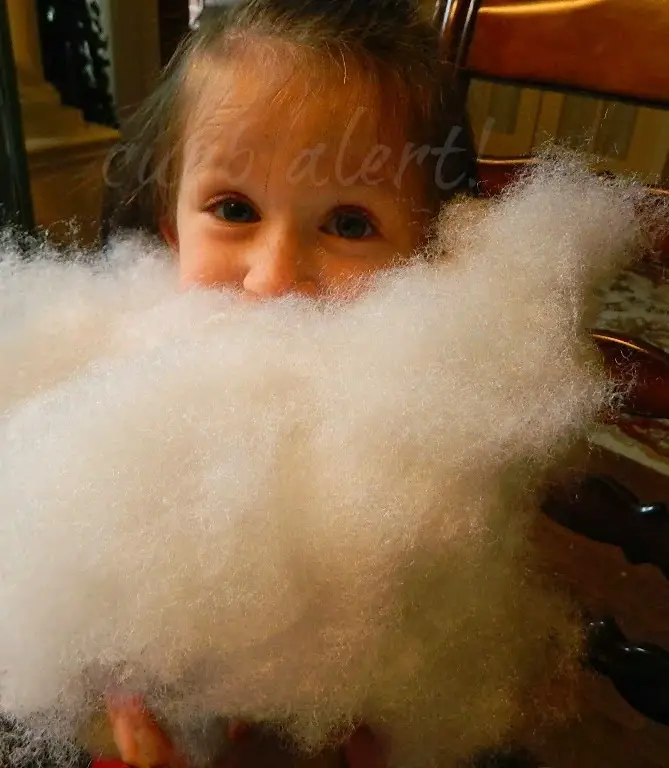
Here let my assistant show you how easy it is!
She had a lot of fun helping with this project!
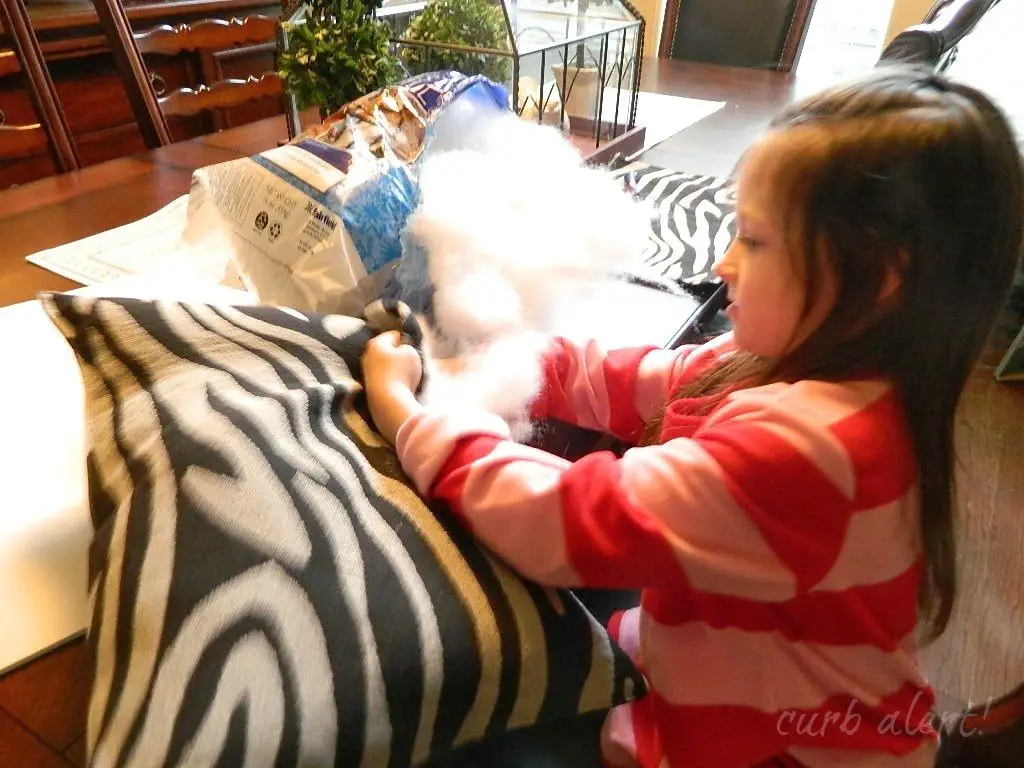
Let me repeat, SHE HAD A LOT of FUN with this project!
We had fuzzy foam everywhere, but hey! that’s the joy of working on it together!
Once I filled the form to my desired stuffiness, I then stitched the bottom edge back together by hand.
It took about three minutes tops to sew it up!
It took about three minutes tops to sew it up!
SEW EASY! hee hee!
That’s how I did the first pillow, but I’ll let you in on a secret. I glued the second pillow with the hot glue gun. It worked great and held up well. So for those of you that do not know how or want to sew a simple straight stitch then this is the project for you!
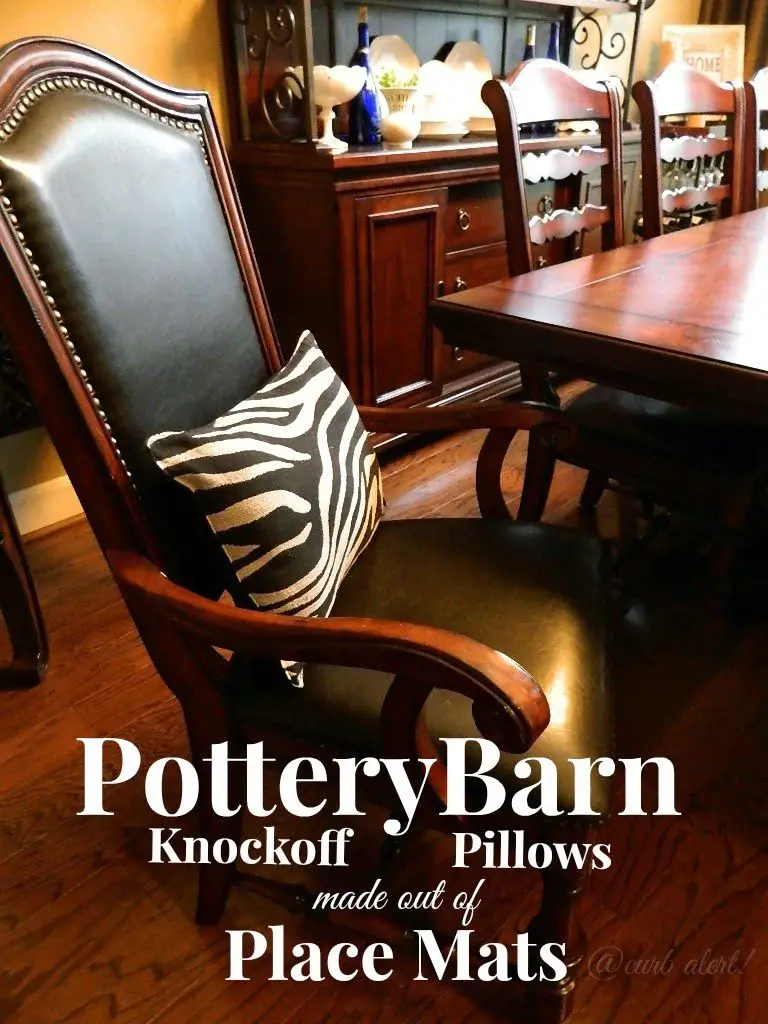
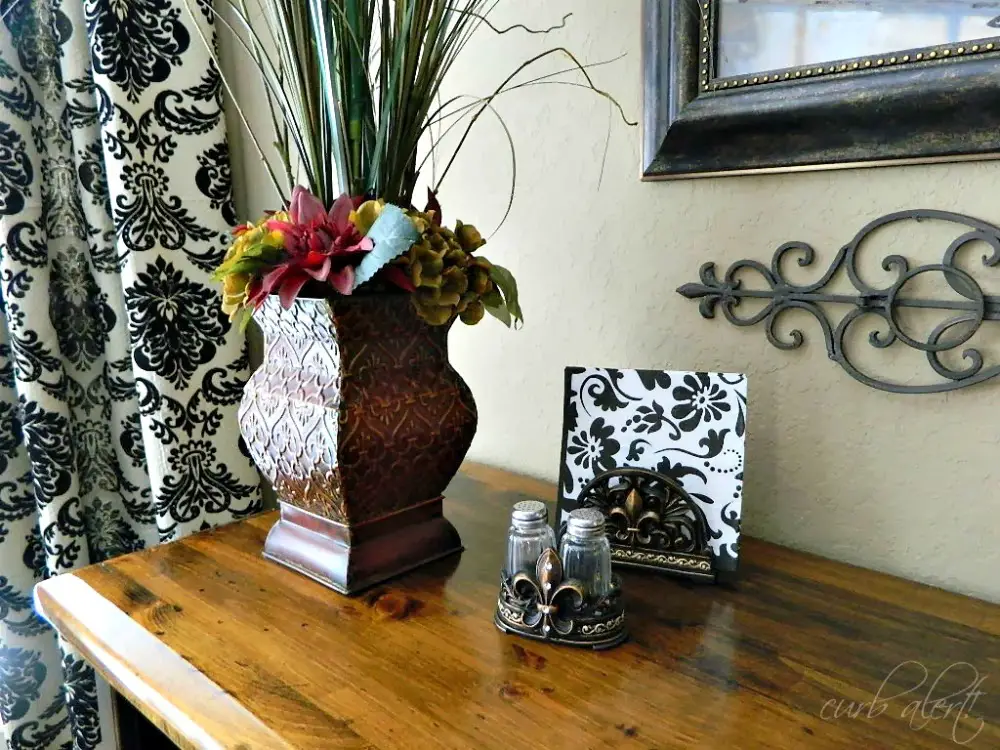
Here they are in my Entryway/Foyer. What is it called anyway? I am not sure! What I AM sure of is that you are probably sick of seeing this space as I have blogged about it a few times lately. I am just enjoying tweaking it here and there.
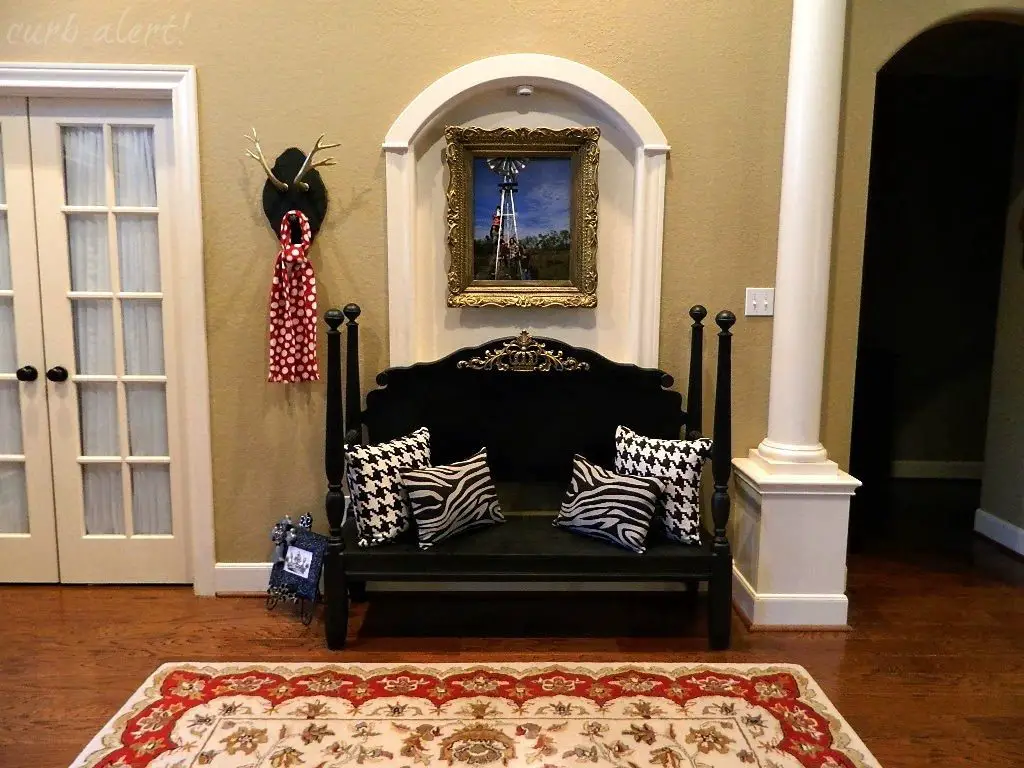
You can revisit how I made my Faux Deer Antlers by clicking HERE.
Or how I made my Headboard Bench by clicking HERE.
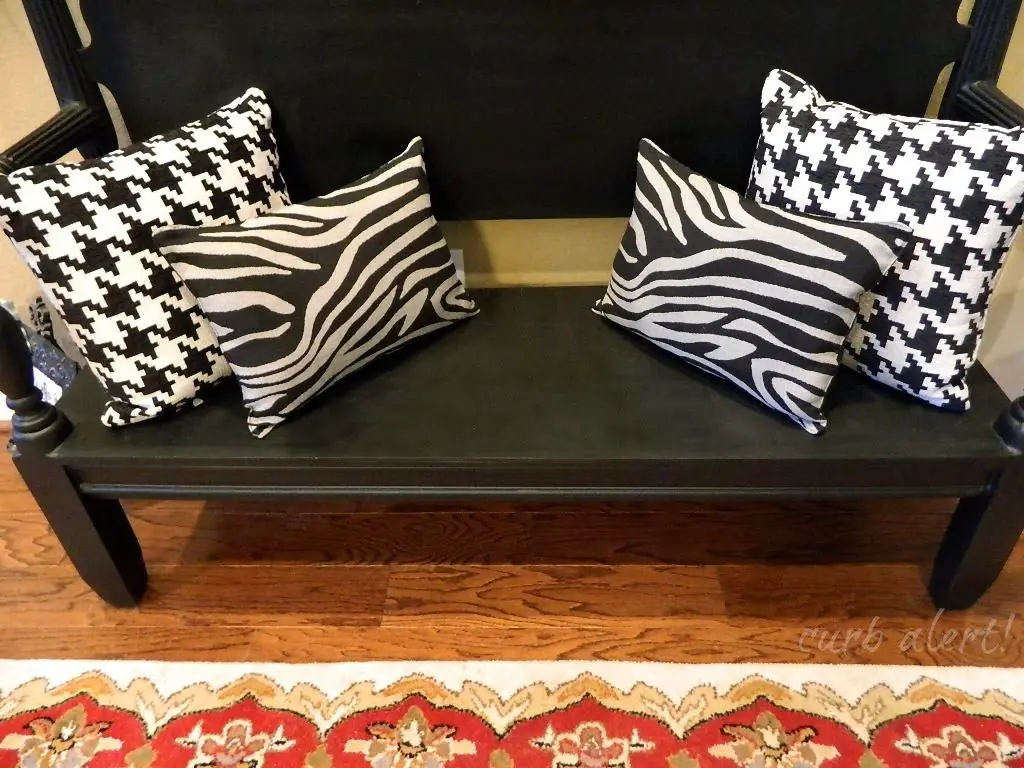
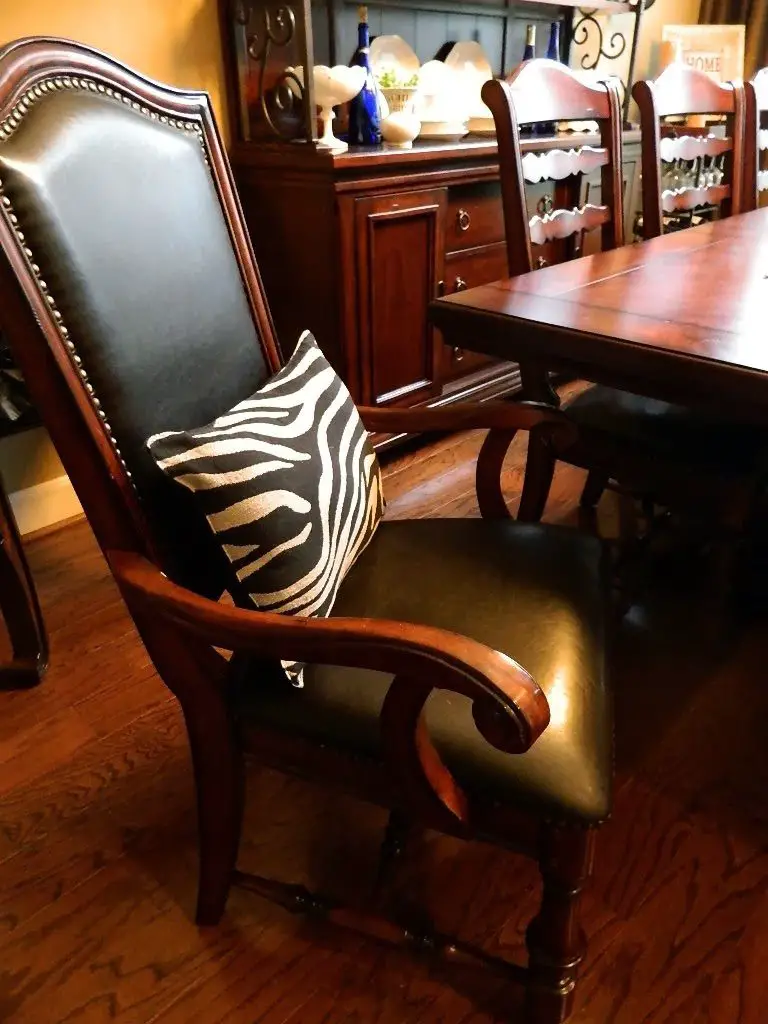
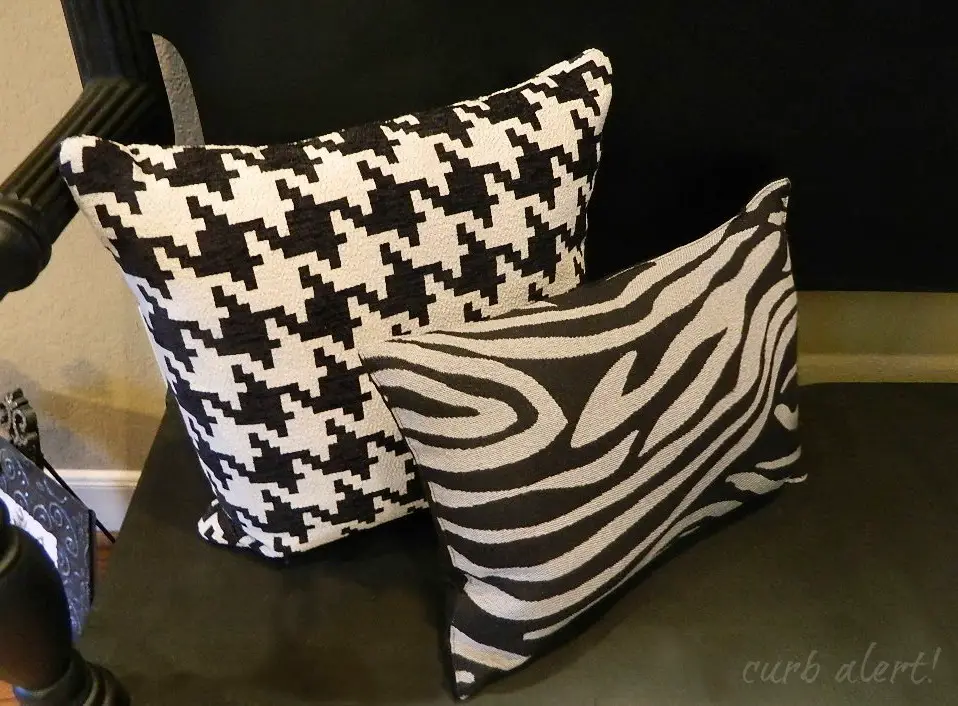
I love how the new Zebra Pillows are versatile and look great in any room…shown above with my Houndstooth Pattern Pillows or as a Lumbar Pillow in the dining room chairs. If I ever tire of the pattern I can just turn them over on their backsides, as they are basic black.
Do you think they would even go with our Black and White Damask curtains in our Breakfast Room? Go take a look at the entire room and let me know what you think.
I am glad I stepped out of my comfort zone a bit and tried this project. It was so simple to do and took no time at all. Gotta love that instant gratification and a great bang for your buck!
I’ll never look at placemats the same way again! – will you?


What a fun project. I love how the pillows turned out and you're right..the pattern is so versatile. I say yes that it would look good with damask.
OMG I am SO doing this!! and how is it I haven't found cute placemats like these. The ones I run accross are like for my grandma's table haha!!
Me, the non sewer, is so very excited about this project! What a very cool look and I too can do it!
This is awesome!!!
Love it! This is soooo Great! because I can't sew a darn thing! I so glad you shared it.
How neat! I was so curious how you did this without sewing! I especially love the hounds-tooth pattern.
Whoda thought!!! Awesome! Nope never look at placemats the same again!! These would make awesome gifts!!
Laurainfairland 🙂
I am totally going to make these for my new living room! Thanks Tami.
Best Animated Light Cubes OnlyCubes
Your homemade throw pillows look better than the inspiration!